Table of Contents
Installation
To work with OpenCV from python, you need to install it first. We additionally install numpy and matplotlib as well
pip install opencv-python numpy matplotlibReading Images from file
After we import cv2 we can directly work with images like so:
import cv2
img = cv2.imread("doc_brown.png")
For showing the image, it is recommended to use matplotlib
import matplotlib.pyplot as plt
img = cv2.cvtColor(img, cv2.COLOR_BGR2RGB)
plt.imshow(img)
plt.show()
OpenCV stores images internally in the BGR format – blue – green – red so we have to convert to RGB before displaying them.
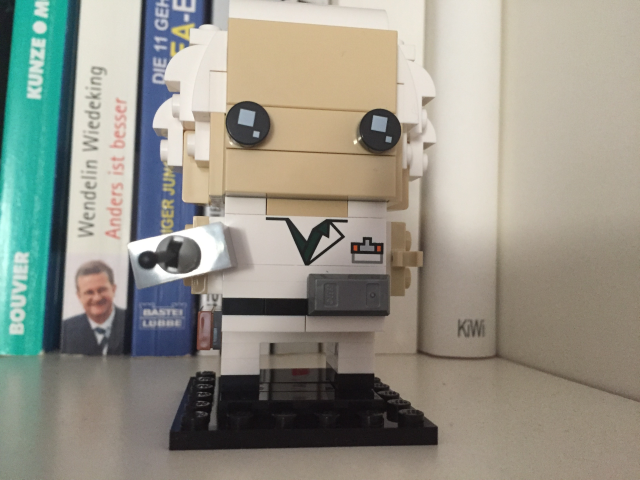
Image Shape
We have now an image object which can already tell us more about the image itself:
print(img.shape)
(205, 236, 3)
The tuple shows us the number of (rows, columns, channels)
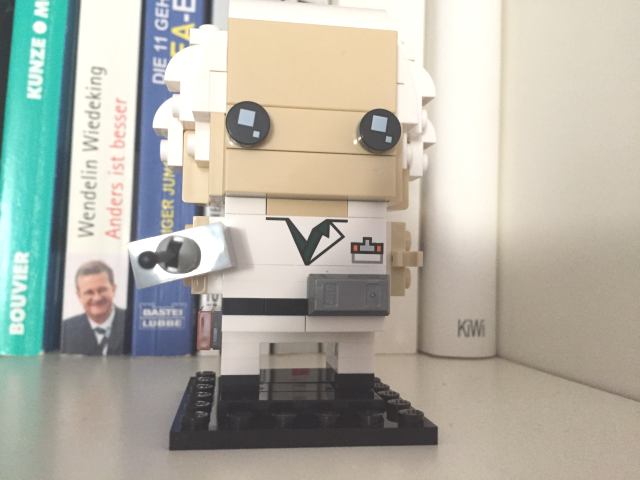
Manipulate brightness
import numpy as np
brightness = np.zeros(img.shape, dtype="uint8") + 30
img = cv2.add(img, brightness)
Manipulating brightness works like this: you need a numpy array with the size of the image, add your brightness and add the brightness array to the original image.
Adding noise
Adding noise works the same way, but instead of adding a fixed value to every pixel you add normal distributed values.
noise = np.random.randint(0, 100, size=img.shape, dtype="uint8")
img = cv2.add(img, noise)
Smoothing
Smoothing is reducing the noise of an image by adding a Gaussian blur:
img = cv2.GaussianBlur(img, ksize=(31, 31), sigmaX=5)
Gray-scale conversion
Last but not least we can convert an image to a gray scale. Beware that for showing / storing the image you need to add the flag cmap=”gray”
img = cv2.cvtColor(img, cv2.COLOR_BGR2GRAY)
plt.imshow(img, cmap='gray')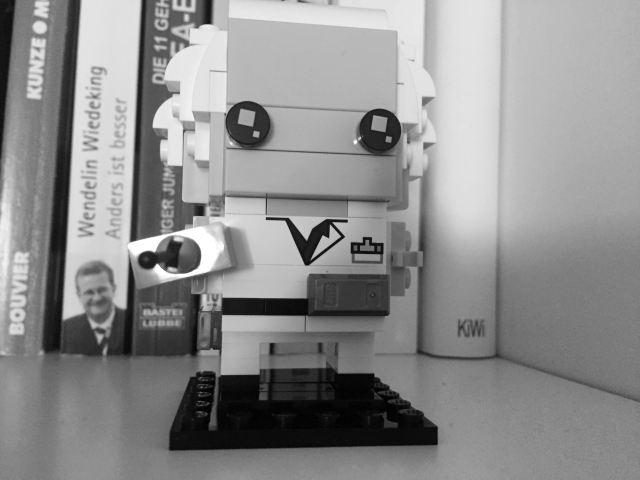
Have fun fiddling around with OpenCV!