Table of Contents
Motivation
As I started with my Prusa i3 MK3 last year I was bamboozled a lot:
Platforms, Tools, gcode, STL, CAD, Slicer, etc.
Perhaps this little article helps to shed some light onto the topic.
Prerequisites
Buy a printer
3D printers come in a variety of sizes and prizes. Nowadays you can start below 200€ with a Creality Ender 3 or an Voxelab Aquila X2 and get decent print quality.
You may even buy an even cheaper knockoff from aliexpress but results may vary. For a rough understanding of the 3d printing workflow you do not need a printer.
Filament
A 3d printer uses so called Filament. when you buy a printer you often get filament samples ranging from a couple of grams to a full spool.
These samples are sufficient for your first prints.
Install a Slicer
Later on in the process you need a program called slicer. In this article I will work with the Prusa Slicer.
You can go to https://www.prusa3d.com/page/prusaslicer_424, download the slicer (for free) and install it.
Workflow
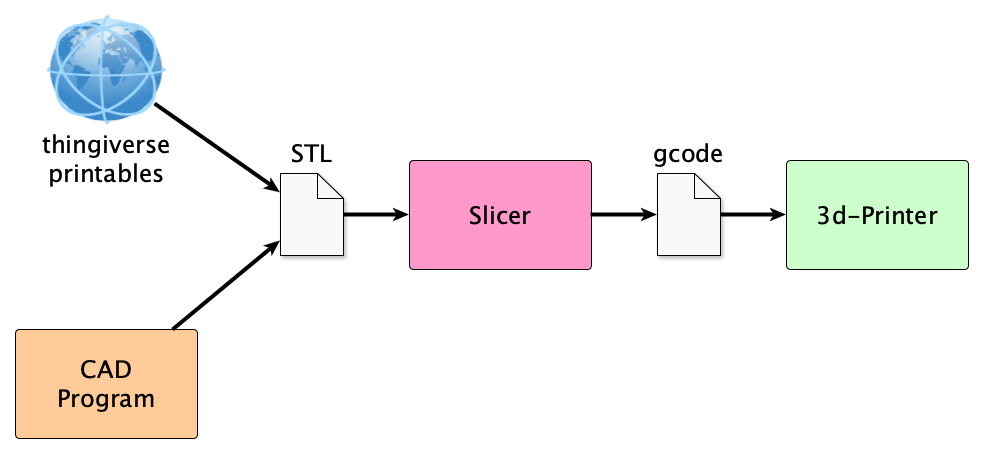
Let’s take a typical workflow of 3d printing:
Getting Designs
First you need a design which you want to print.
You can find hundreds of thousands of designs on platforms like thingiverse.com or printables.com
Often you need a user account to download files but then you are ready to rumble.
STL

What you mostly get on these platforms are files with the file type STL.
STL is an acronym for stereolithography. Sometimes it is referred to as Standard Triangle Language or Standard Tessellation Language. Nevertheless, the file content describes the model geometrically.
For educational purposes I’ve made a simple cube with 20mm edge length.
Go to https://www.printables.com/model/358740-simple-cube/files and download the STL
Slicing
Your printer can only build up layers one by one, so you need a program called a slicer to slice the geometric figure into movements of the printer’s stepper motors
The description how your printer should move is normally stored in a so called gcode file which is essentially a text file.
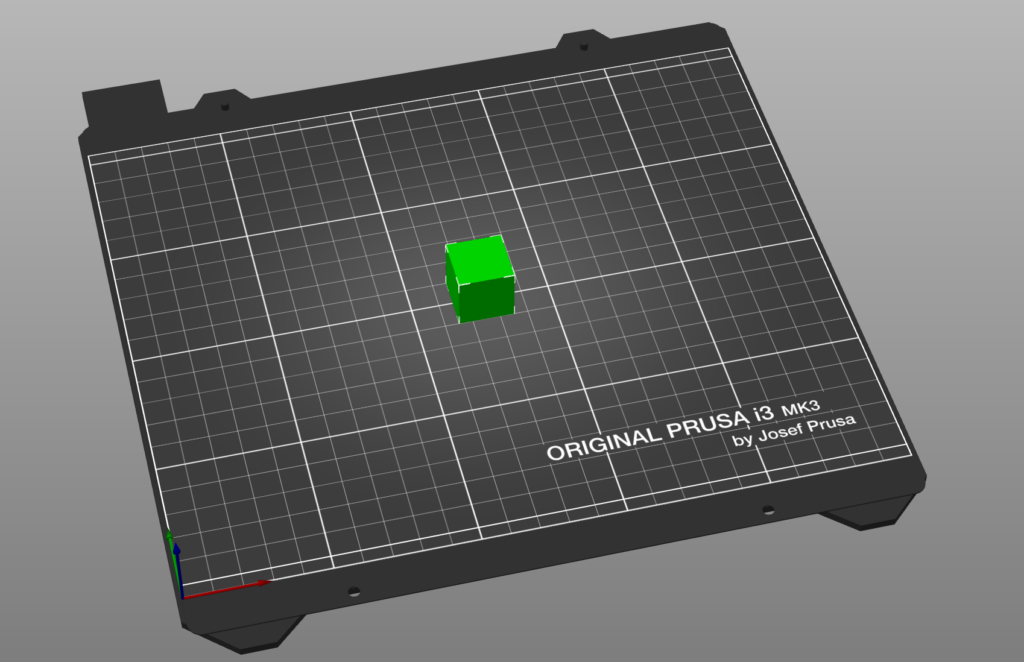
Import STL
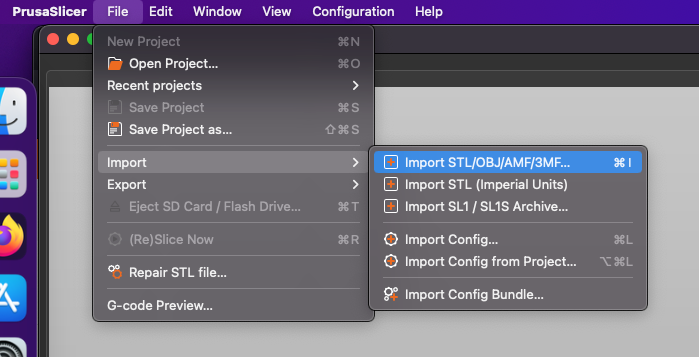
Open the Prusa Slicer and click File -> Import -Import STL
It should look like this now:
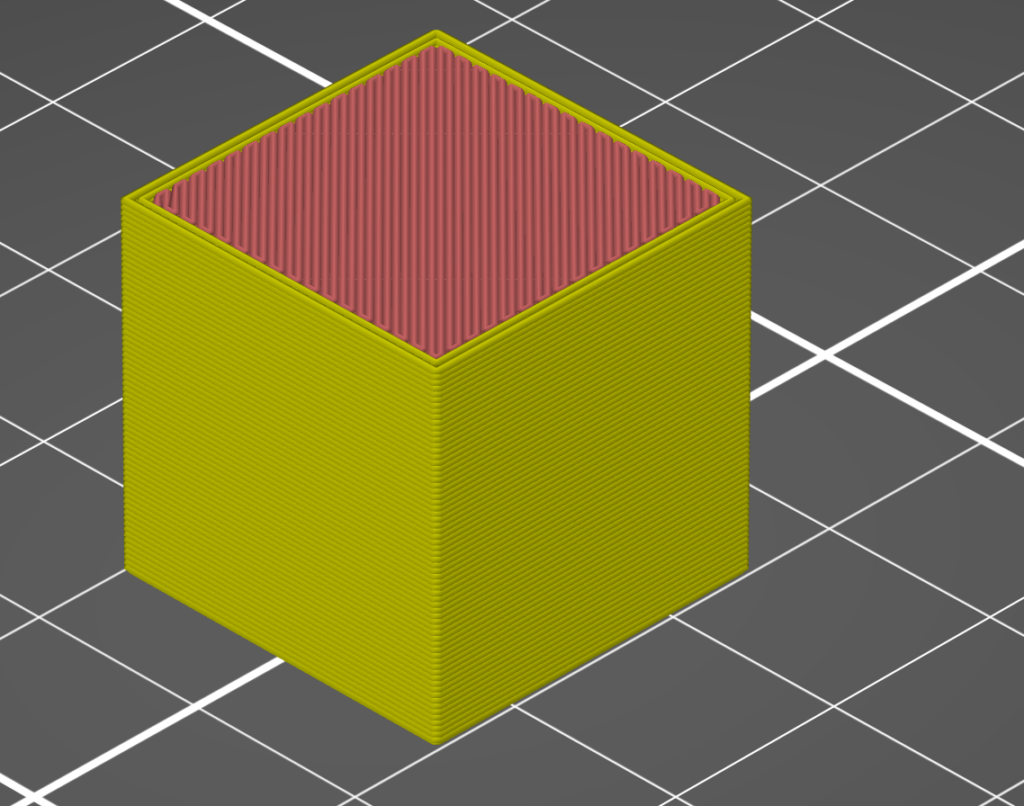
Preview of Slices
You can switch to the preview of the slicing:
Export G-code
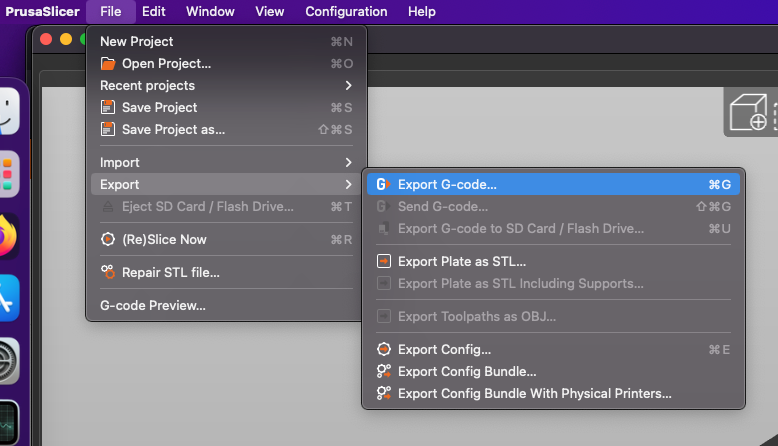
Fiel -> Export -> Export G-code
What is G-code?
G-code is a programming language used to send commands to a machine controller, such as a CNC mill or 3D printer.
It consists of a series of codes that represent specific actions or movements, along with numerical values that represent the parameters of those actions.
For example, the code “G01 X10 Y20 Z30” might tell the machine to move to a specific point in 3D space, with the X, Y, and Z values representing the coordinates of that point. G-code is used in a wide variety of manufacturing and production applications, and is typically used to control the movement of machine tools, robots, and other automated systems.
Our G-code looks like this
M104 S210
M140 S60
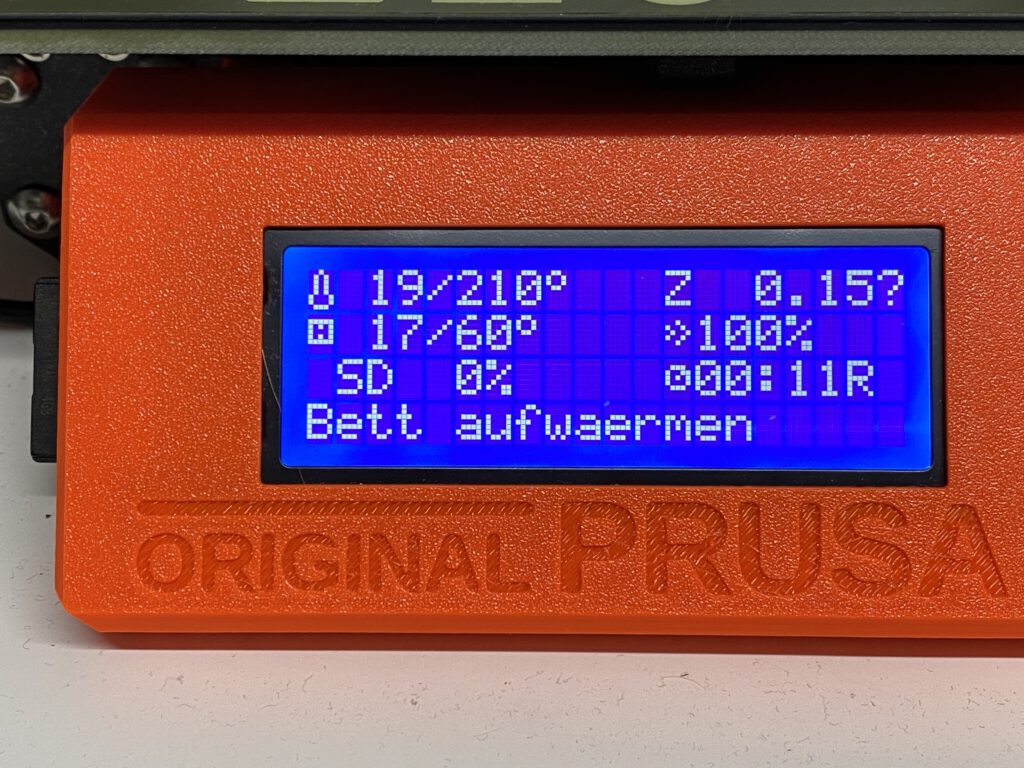
This sets the extruder temperature to 210 degrees Celsius and the bed temperature to 60 degrees
An actual printing command looks like this:
G1 X133.93 Y96.497 E.02664Printing
Now it’s time to load the file onto an SD card and start printing
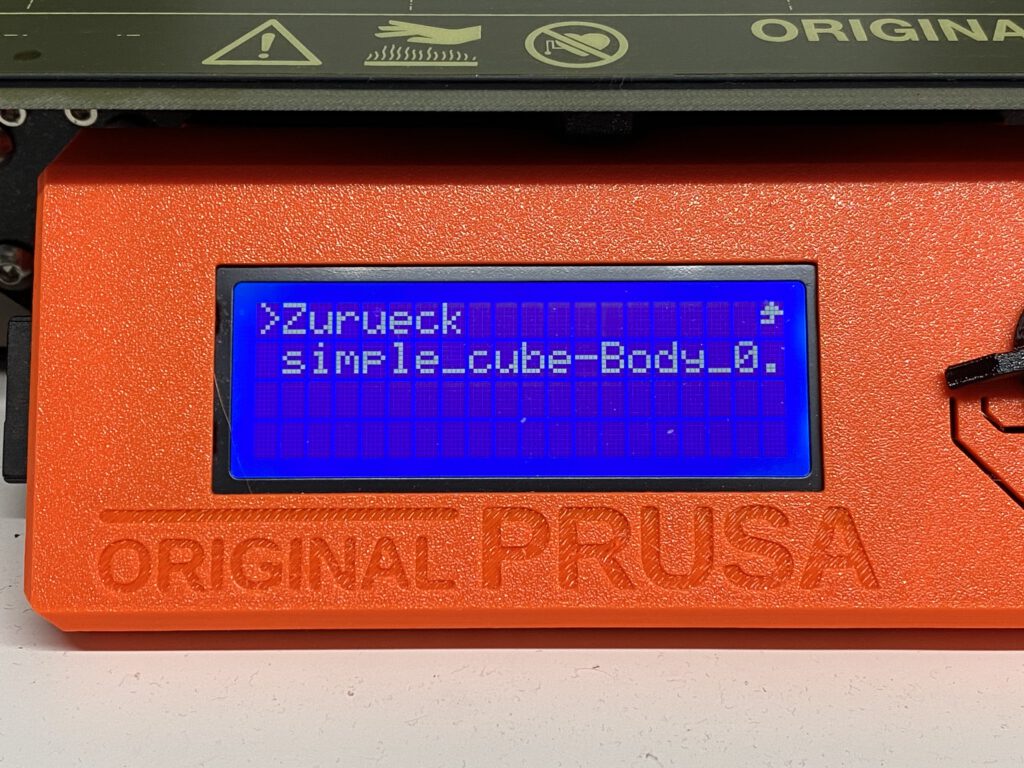
The printer is going to start heating
Video of the print
I’ve made a YouTube video to show you the print in progress:
Finished Print
This a what the finished print looks like:
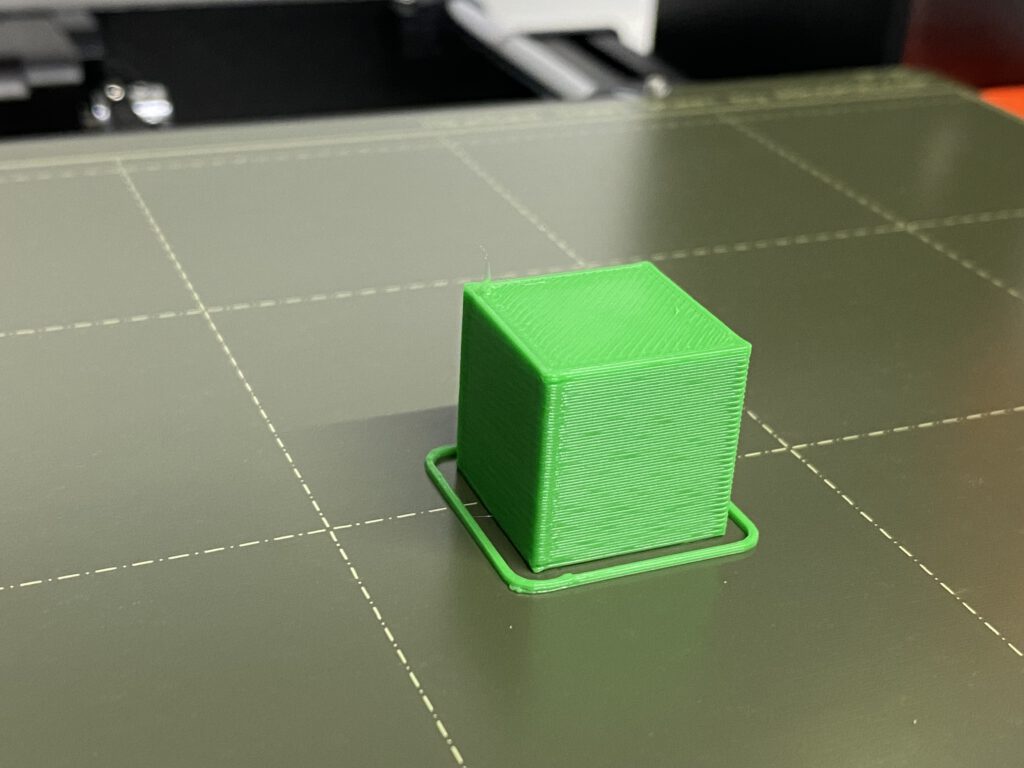
This is printed with 0.3mm draft settings on the Prusa Slicer. That is why you can see the individual layers.
Accuracy
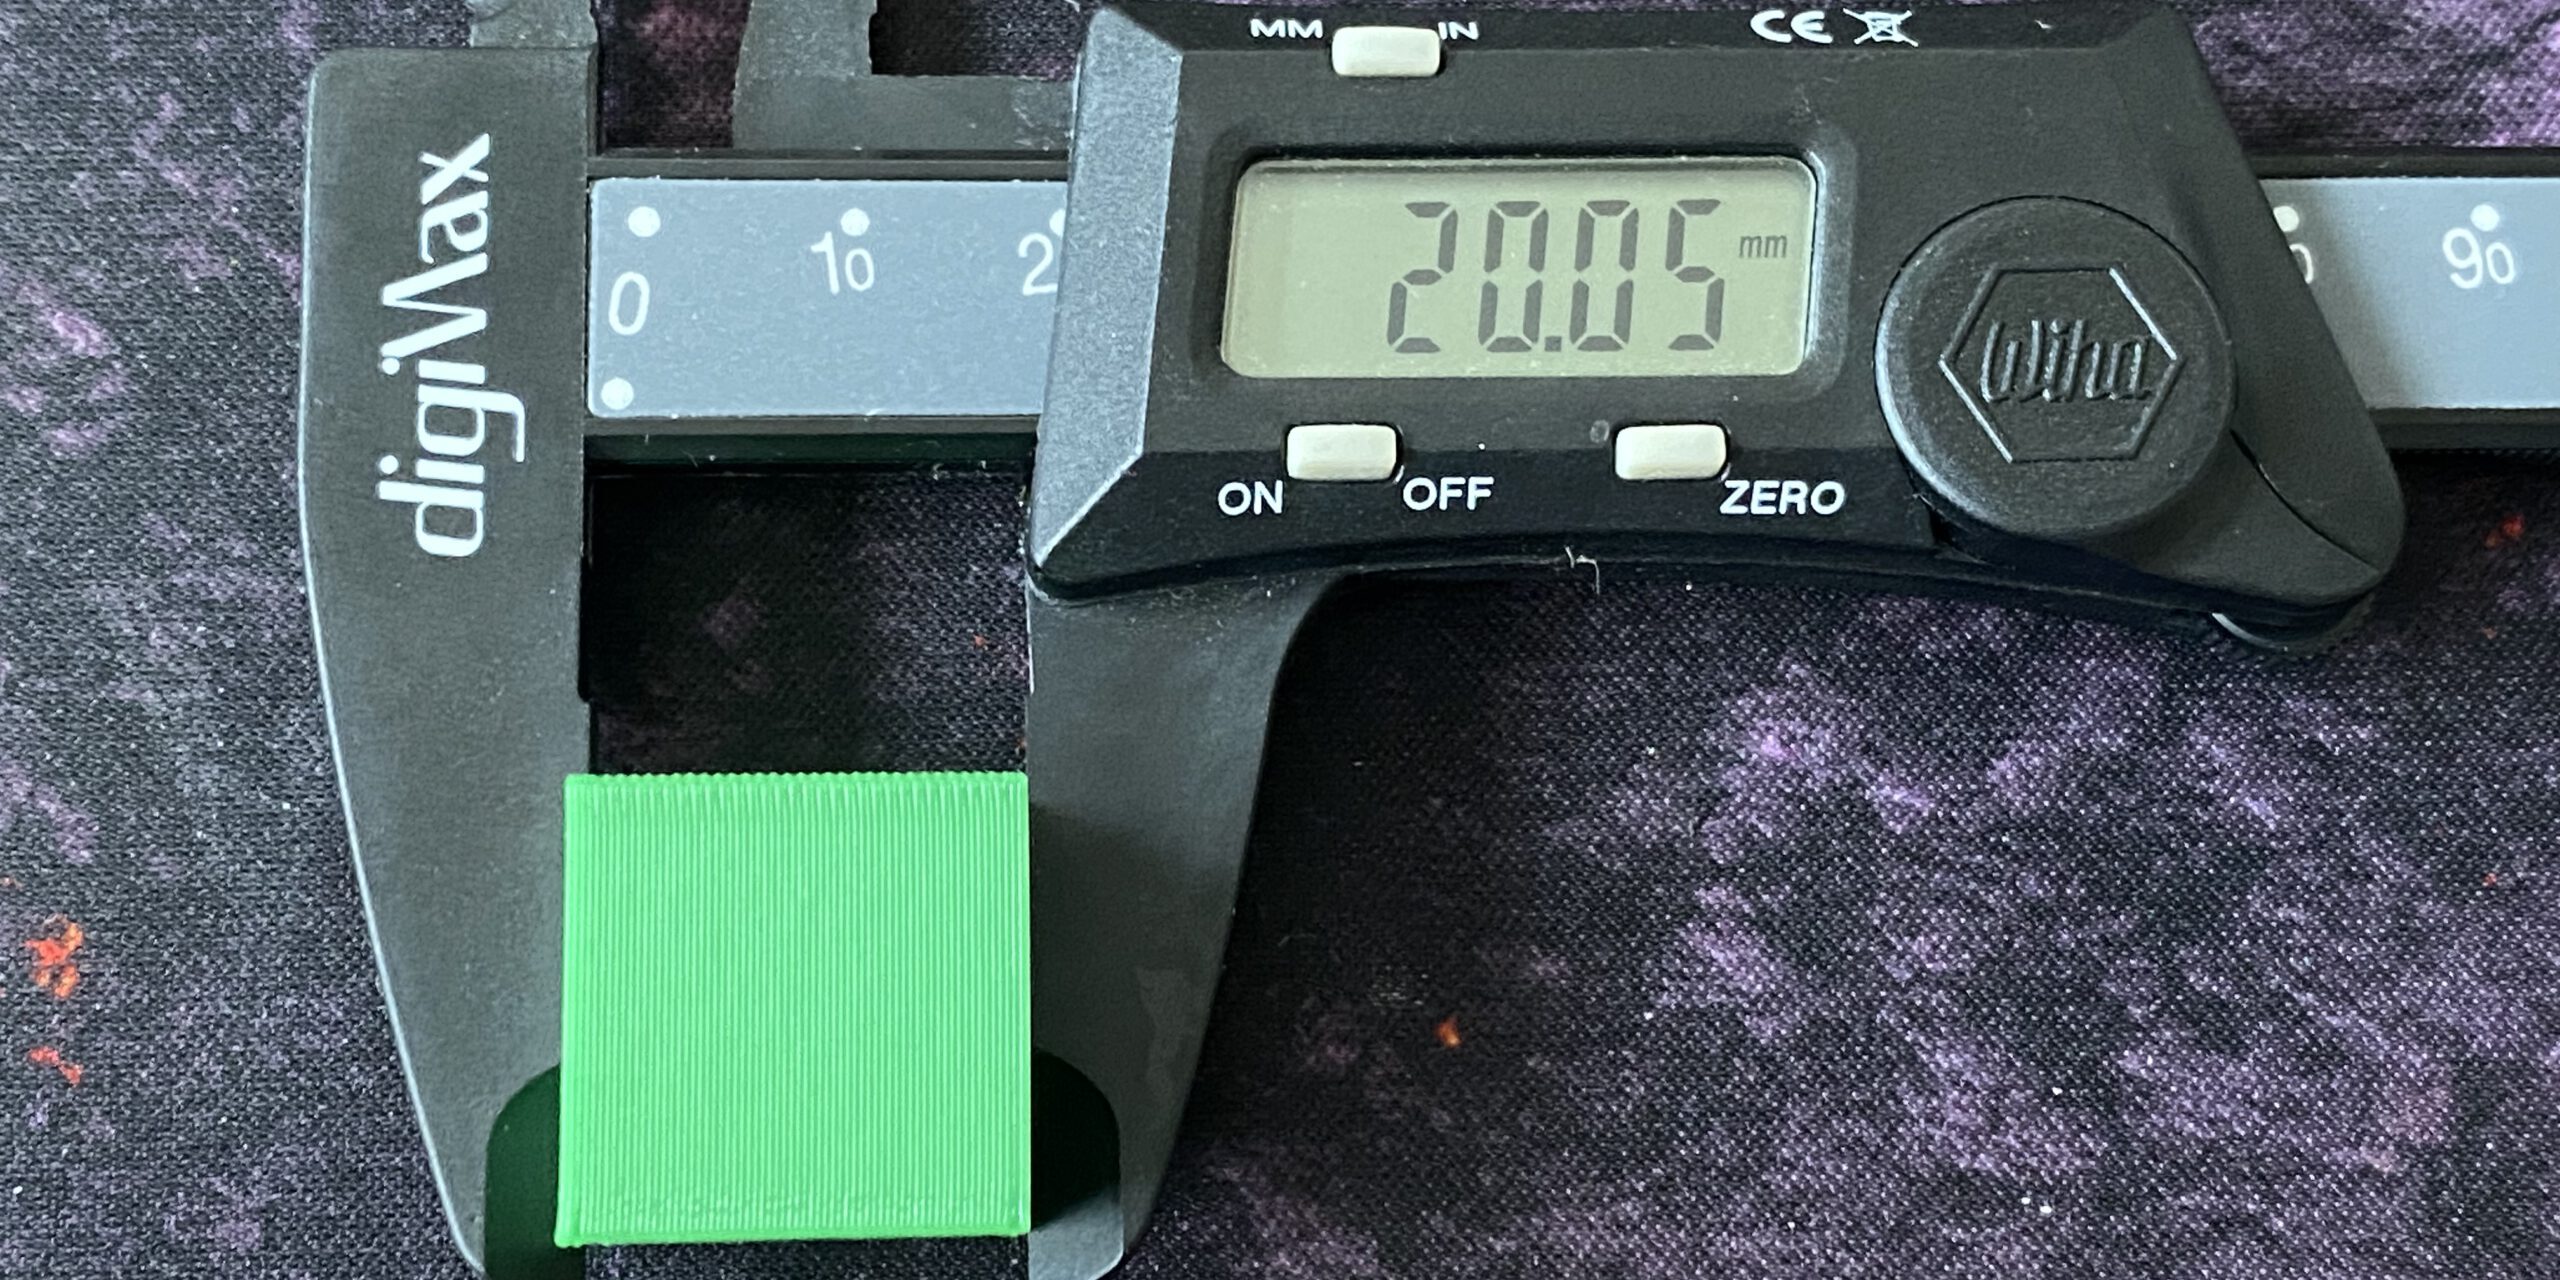
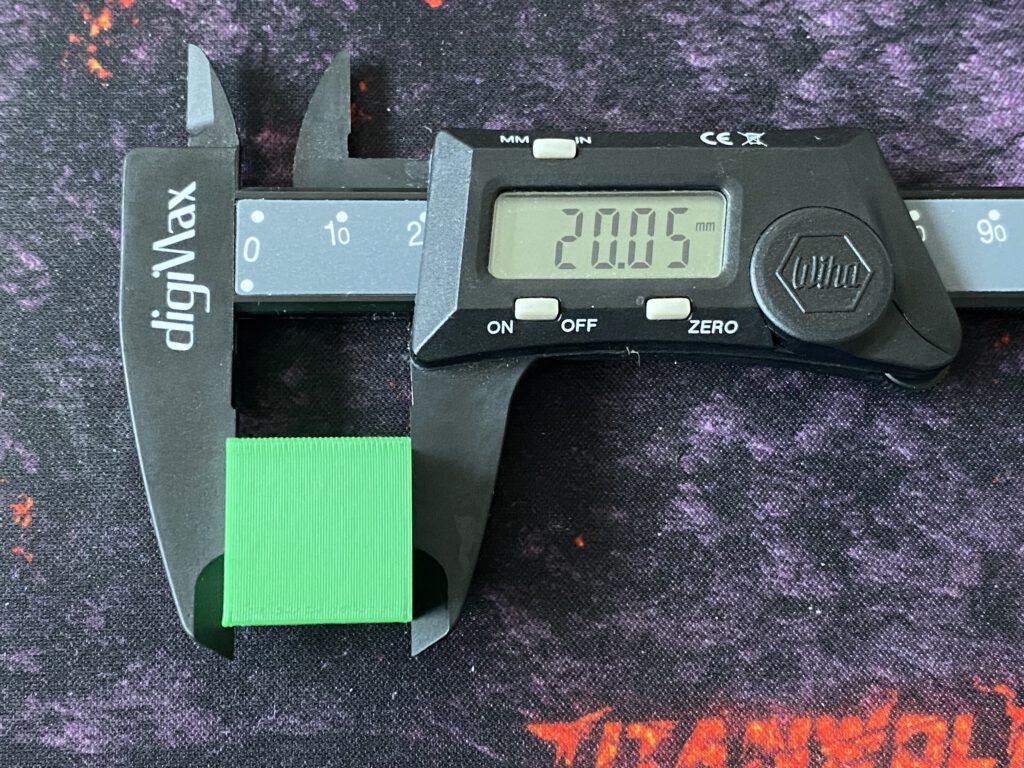
I took my calipers to measure the printed cube. It came out quite accurate.
Further Reading
https://www.prusa3d.com/page/prusaslicer_424
https://all3dp.com/2/best-thingiverse-alternatives/
https://www.adobe.com/creativecloud/file-types/image/vector/stl-file.html
